
Adjustable Braided Wrist Lanyard
As many of us know, there is a mighty need for lanyards these days. Particularly lanyards for whistles. Yet when all bundled up to face that wind chill in the negatives, it can be tricky to reach for that neck lanyard. Or perhaps there are sensory issues that make a neck lanyard tricky.
So I bring you, an adjustable wrist lanyard!
What you’ll need: Cord, yarn, or some other form of easily braided material. Cord is good for even tension though may cost more. Yarn is widely available, and easily worked with, though the variable tension may cause some difficulties with ensuring things are secure.
Optional Items: Keyring (easily found on both professional jewelry sites or your local Michaels), whistle, beads for decoration
On sizing: Winging it is totally valid, but for those who like specifics, 8 inches for the bracelet portion would be average for most wrist sizes, regardless of gender. See this guide for more info.
Step 1: Cut 3 strands of yarn (or your choice of material) to be braided. More complex braids can be done for this as well, but for this tutorial we’re going for the good ol’ 3 stranded braid.
Step 2: Keep braiding!
Step 3: Even more braiding! If this is for yourself, keep going until it forms a loose bracelet around your wrist. If for others, see the linked bracelet sizes guide for how long you want to go for. 8 inches seems about average.
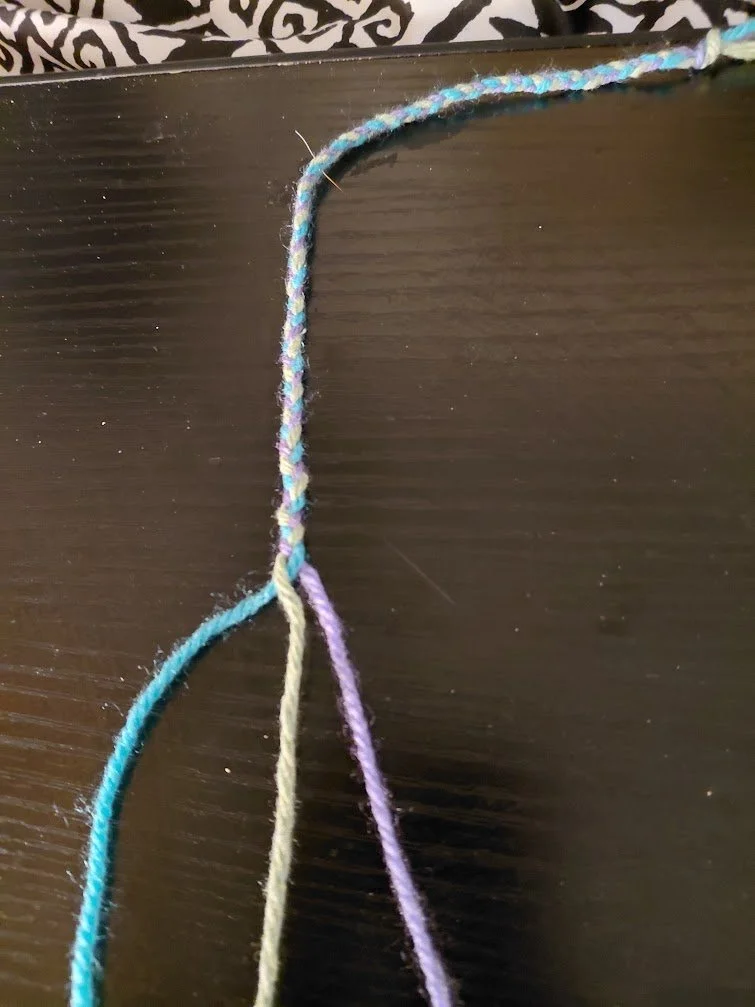
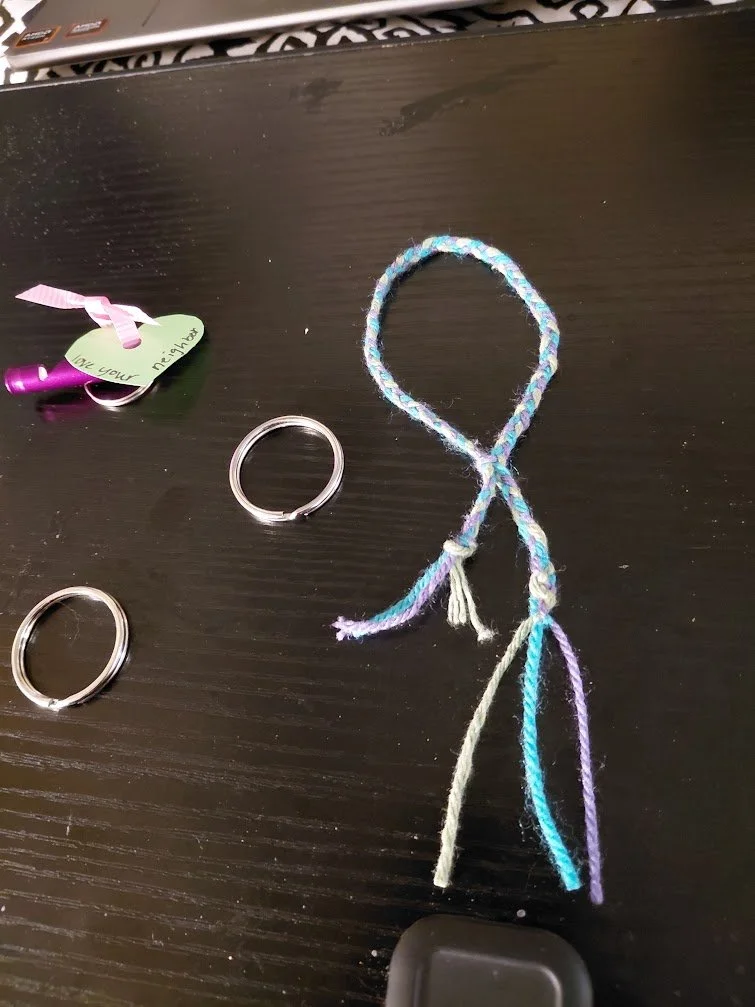
Step 4: Okay, this one is crucial. Extremely difficult. The most difficult of all. Note how the strands are separated out for better visibility.
Lay the knotted end between the strand that just went over and the strand about to be put over the other one. If the loop seems too small for a wrist, you can move the knotted bit back, and do a bit more braiding before moving on.

Then put the purple end over the knotted end. Keep braiding, ensuring the knotted end remains separate from the extra braiding you’re doing.
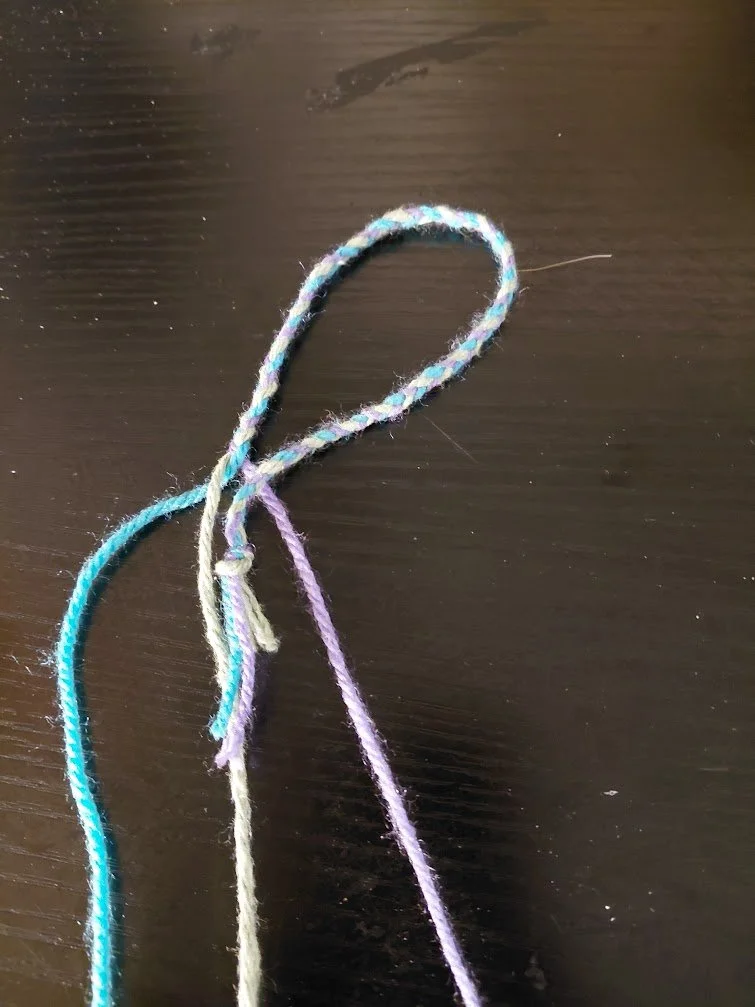
Step 5: Check tension. You want to be able to pull the knotted end back and forth, but you don’t want it to leave its loop. In this case, after taking the photo, I redid the braid to be more taut. You can also make the knot larger.

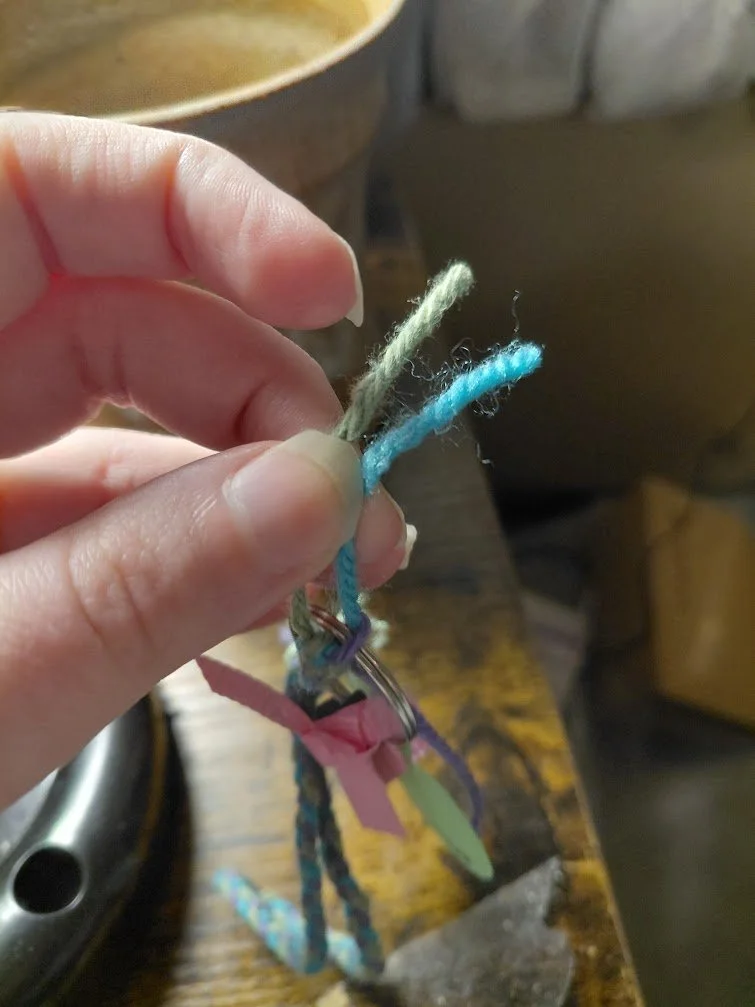
Step 6: We’re almost done! There’s a few paths to go from here. Option 1 is using a similar method to braid a keyring into it. Or knotting one into the lanyard. OPtion 2 is attaching a whistle via the braiding in method or via knotting. Some whistles may need a key ring, others won’t but should have a hole that allows for direct attachment.
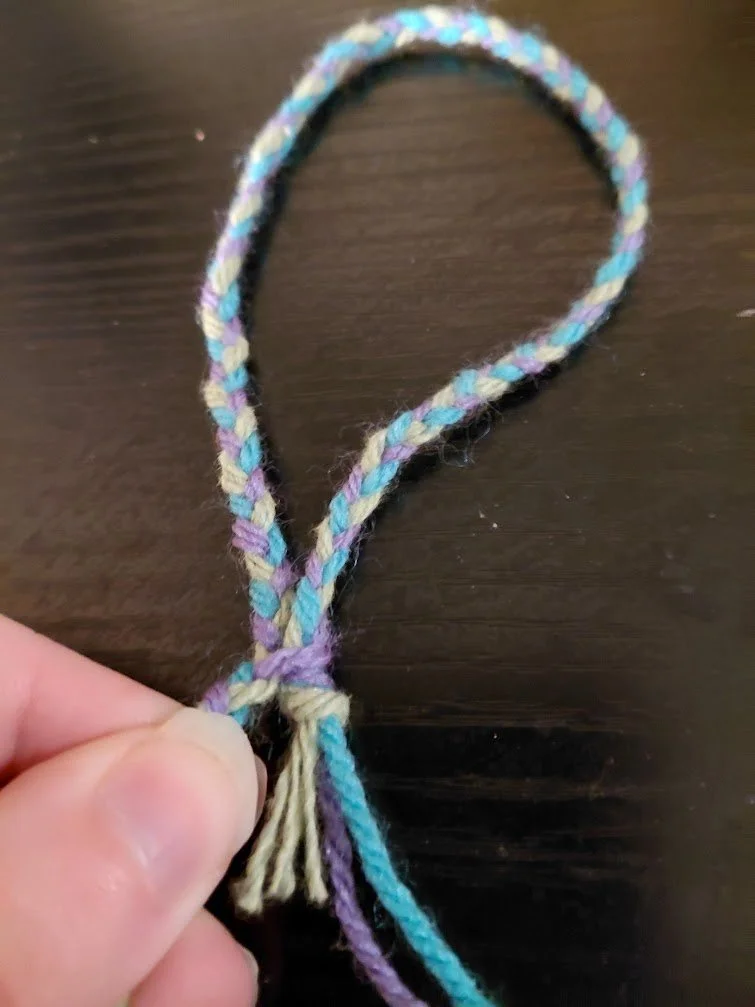
Option 3 involves ending the lanyard with a series of basic knots, then leaving loose strands. That’s what I did and will show images of. THe goal is to ensure the strand has the possibility of fitting through at least some attachment holes in whistles.
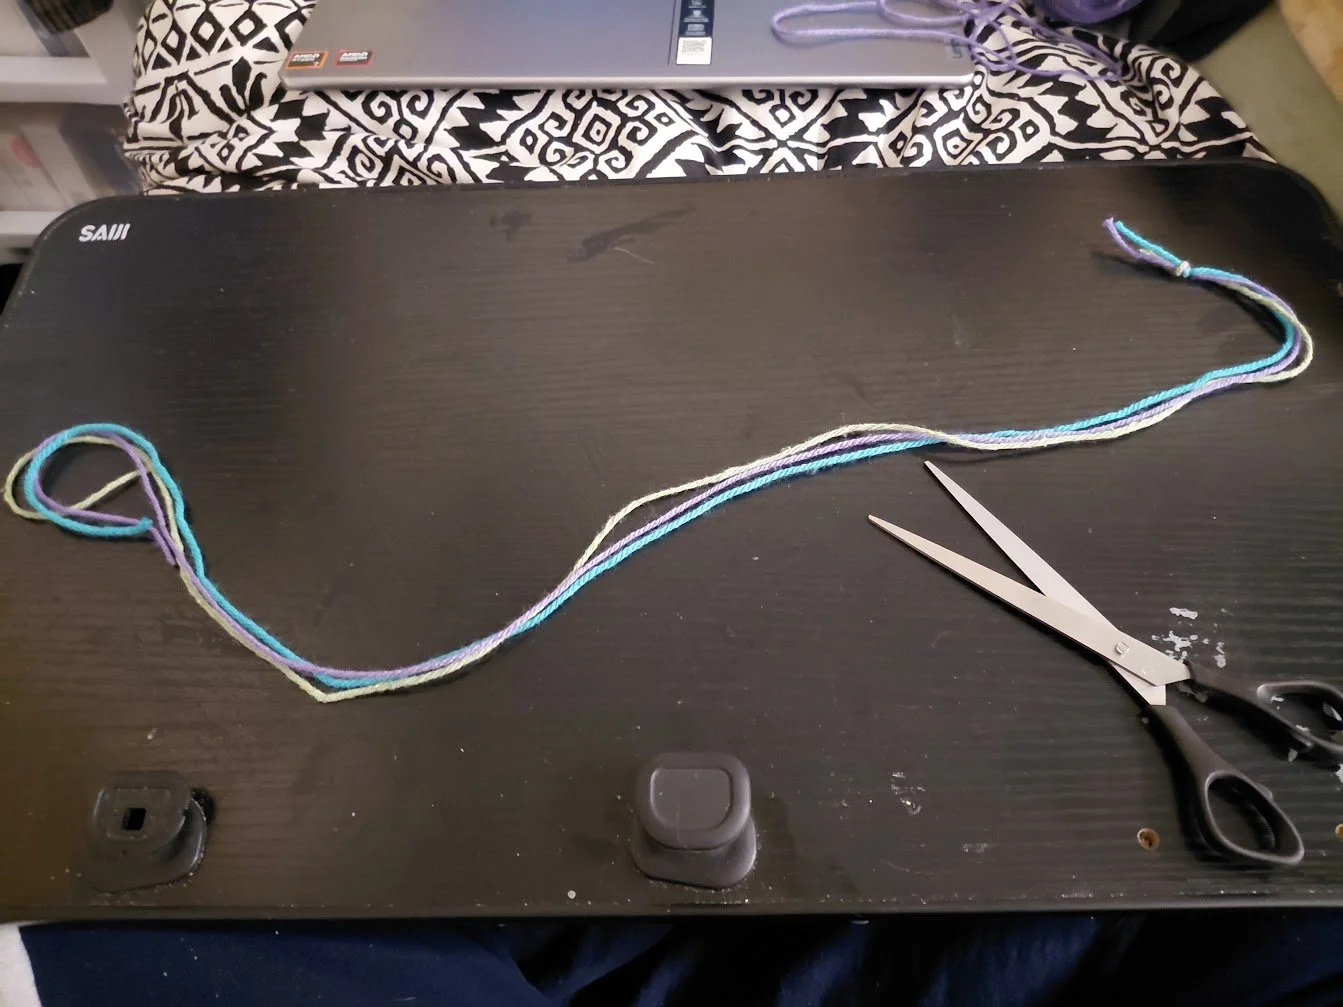
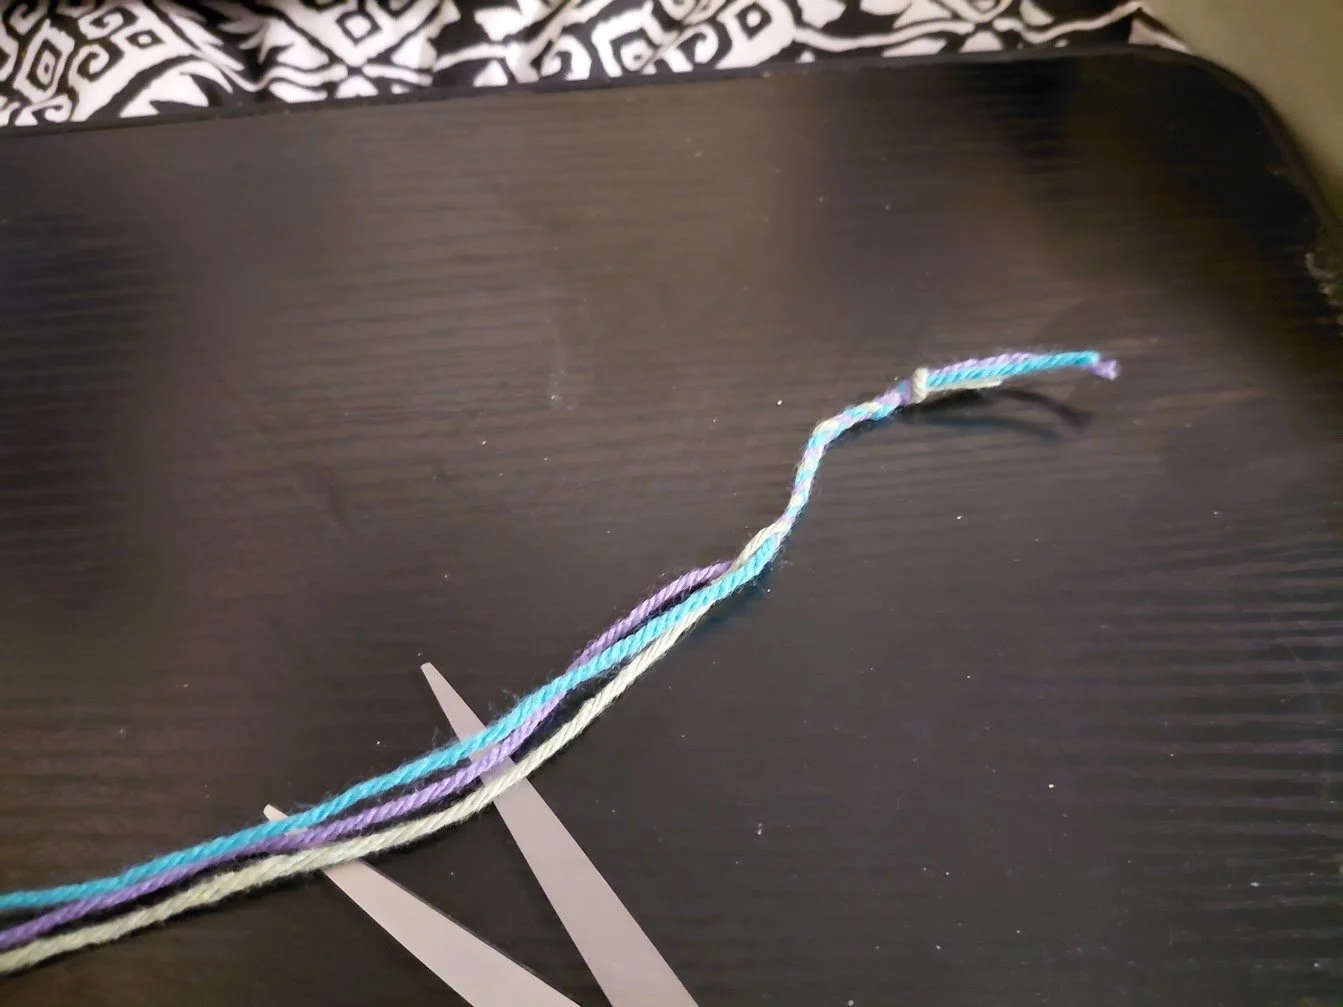
Step 6 cont.: You want to knot the single strands together. This is right after knotting the purple and green strands.

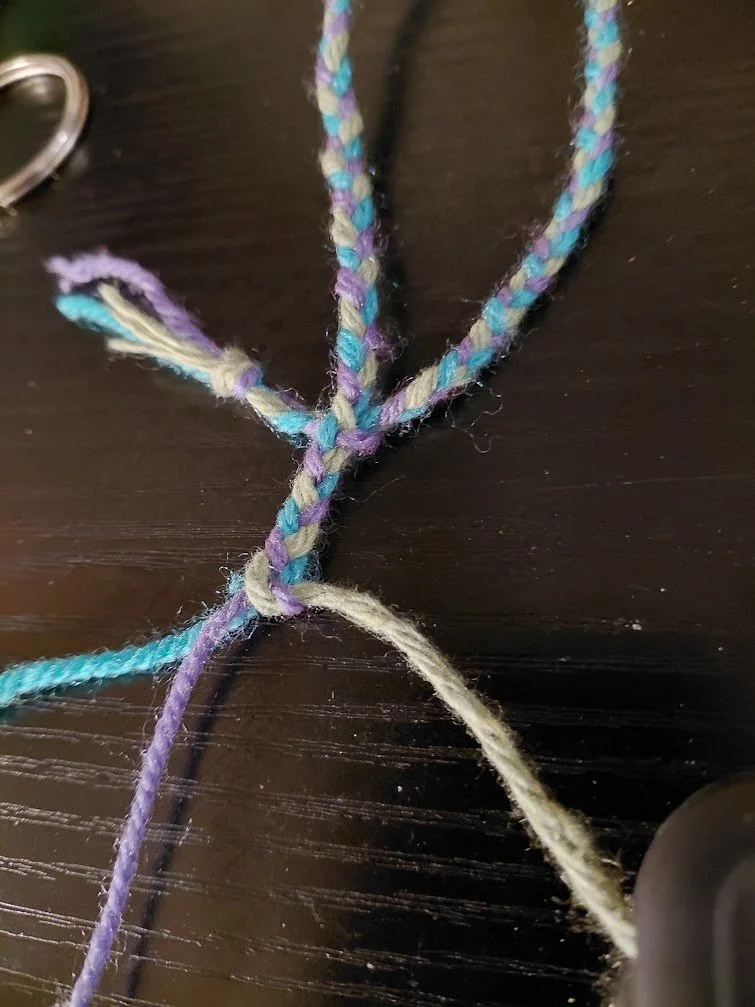
Next we’ve got green and blue, right before tightening the knot to better show the knot type.
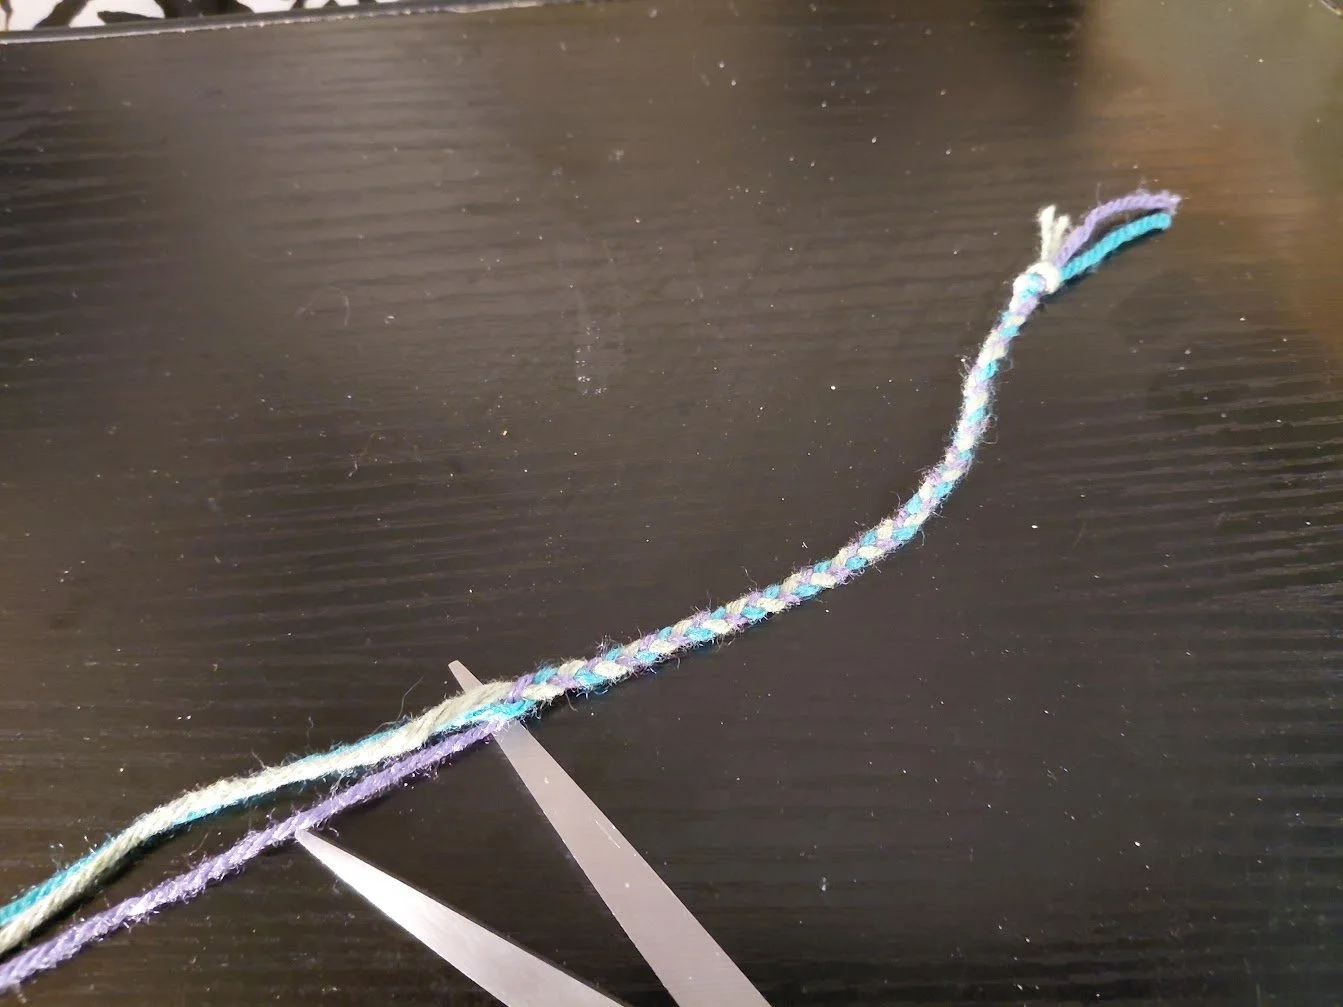
In this case, next is purple and blue, then continuing to do more of these, until you feel it’s long enough. Make sure you pull at the knots and strand to ensure things remain relatively slim. Alternatively, if working with yarn, its possible to iron that section down.
Do a couple double knots to finish it off, and you’re done!
Bonus! This is just showing one way to tie a key ring/whistle after it’s “finished”. Aim for getting it looped in a couple times as you tie some simple knots to secure it.

With whistle secured!
And there we have it! For whatever reason you need a whistle for, this should help provide another lanyard option. PDF versions of this will soon be available on my ko-fi or my itch for free. Links will be provided once I have those up